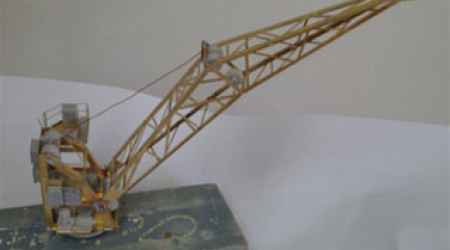
JRH 876 PE RN Crane base kit: Construction Guide
Construction:
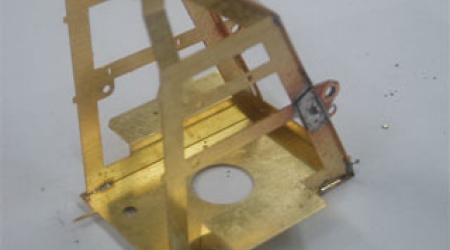
a: Start of Assembly ------ Fit together the side frames to the base.
b: Make sure to fit the pivot re-inforcing tabs when sliding the front panel back at an angle.
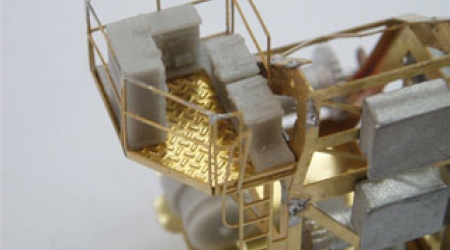
c: Fold up the top tray and attach to crane base at the top of the left hand side.
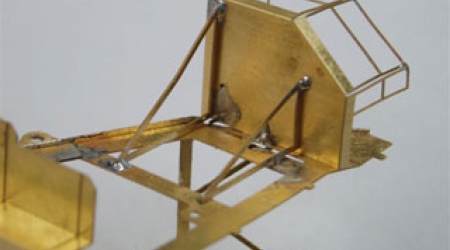
d: Fit the two top tray supporting brackets.
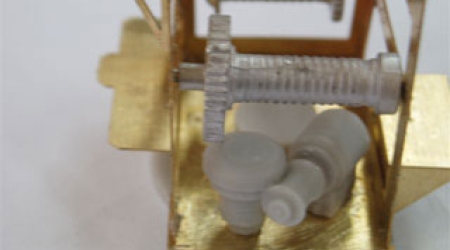
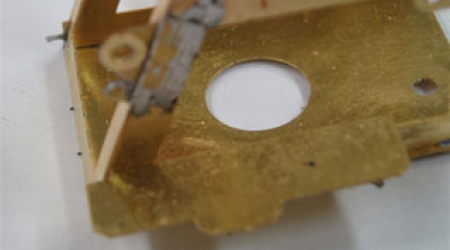
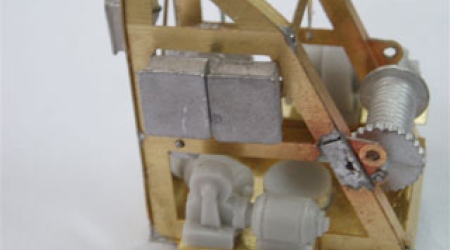
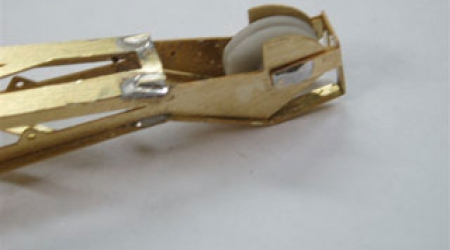
e: Spring fit the two white-metal drums where shown and glue on the resin parts shown in the picture . To get good adhesion lightly run the brass with fine sandpaper before fixing.
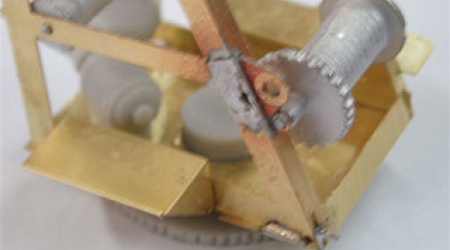
f: Another view of previous step.
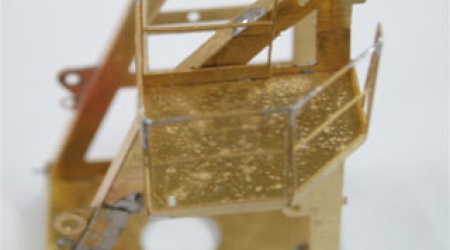
g: Fit the back panel. You will need to trim the locating tabs a little to get the back on.
h: Fit the other base parts as shown.
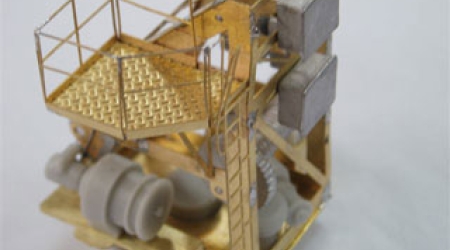
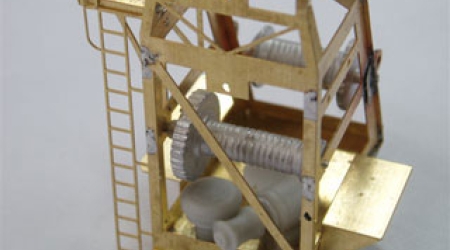
i: Fit the top tray with the textured floor.
j: fit the top tray gear.
![k: Cut out the Jib parts and when assembling fix the RH side piece to the top piece which is the shorter of the two [top and bottom].](/wp-content/plugins/widgetkit/cache/JRH876k-b024259cbfedfcd1a374eda0c0767cba.jpg)
k: Cut out the Jib parts and when assembling fix the RH side piece to the top piece which is the shorter of the two [top and bottom].
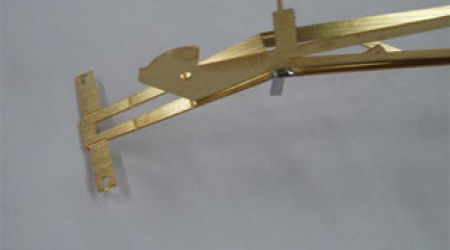
l: Remember that with PE the half-etched line is Bend to Close.
m: Bend the bottom piece as shown.
![n: Drill all 5 pulley assembles [ 2 single/2 double and 1 four pulley ] with 1mm drill all the way through and the two double ones shown are fitted as shown.](/wp-content/plugins/widgetkit/cache/JRH876n-03bb5af522ed03ac7dc12ab6a1f56af3.jpg)
n: Drill all 5 pulley assembles [ 2 single/2 double and 1 four pulley ] with 1mm drill all the way through and the two double ones shown are fitted as shown.
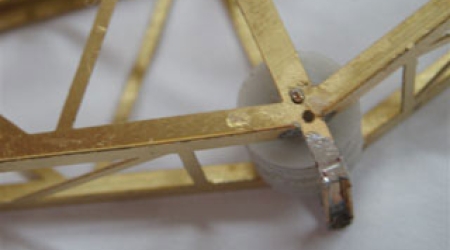
o: The central 4 pulley assembly must be fitted by drilling a new 1mm hole at the bottom of the side frame where shown and not at the existing hole.